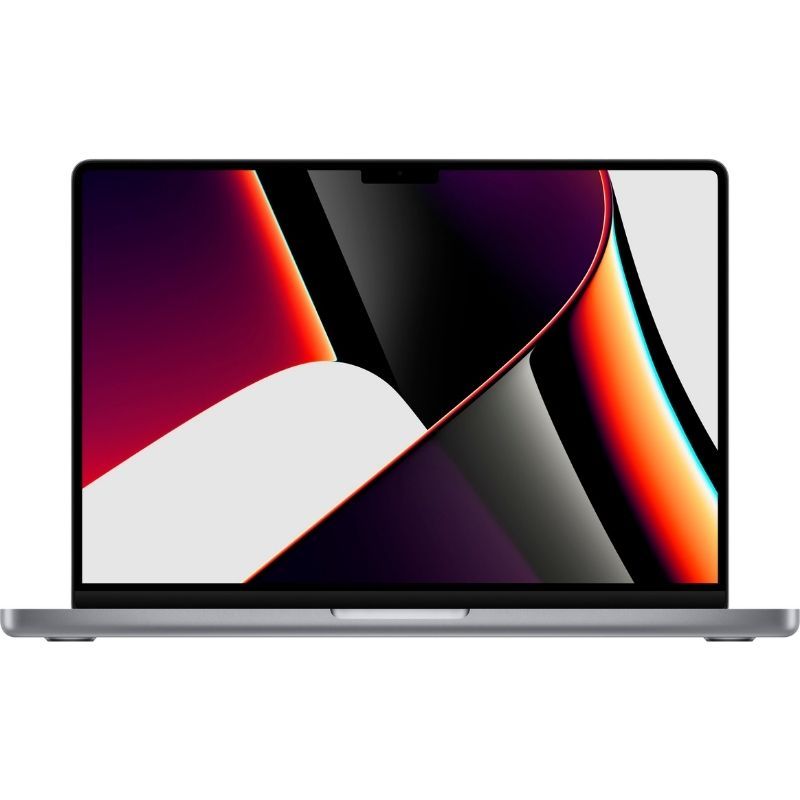
The refreshed MacBook Pro 13 (2022) is powered by Apple’s new M2 chip but features a design that first made its debut in 2016. The MacBook Pro 13 offers excellent performance and battery life when compared to other products in Apple’s Mac lineup. If this is your first time setting up an Apple Mac product, don’t worry, we are here to help.
Setting up and powering on the MacBook Pro 13 (2022)
- First things first, take your laptop out of the box and make sure you have everything that is supposed to be included: MacBook Pro 13 (2022), 67W USB-C Power Adapter, and USB-C Charge Cable (2 m).

- Take out the power adapter, plug the USB-C cable into the female USB-C port on the adapter and then connect the male end to the MacBook Pro’s USB-C port. It should look similar to the image above. Unfortunately, there isn’t a charge or status LED for the USB port or the cable, so you will just have to just trust that it is plugged in. You will be able to check the charging status once the computer is turned on.

- Open the lid of the MacBook Pro 13 (2022) and locate the power button in the upper right-hand corner. This button not only turns on the power when pressed, but it also functions as a Touch ID button.
- When you are ready, press the button. The MacBook Pro should unleash a “bong” tone, signaling that the computer is turning on.
Setting up the OS and user account on the MacBook Pro 13 (2022)

- After a few seconds have passed since pressing the power button, you should be greeted with the very first screen of macOS – the multilingual splash screen displaying “hello” in many different languages.
- You’ll then proceed to be greeted by the Setup Assistant, which will walk you through each step.
- Select your language, region, and any accessibility options you might want to use.
- Connect to the internet using Wi-Fi or an alternative option, you may also have the option to not connect.
- Select your various preferences for your Data and Privacy options.
- The Migration Assistant can transfer data from older Macs or Windows PCs.
- If you are using other Apple products, you can choose to enter your Apple ID. This will sync your Apple devices. If this is your first Apple product or you don’t have an Apple ID, you can create one. This is highly recommended in order to take advantage of any updates or apps that you might need to download.
- After you agree to the terms and conditions, you can set up your name, account name, and account password.

- When complete, you will be asked to set up Touch ID. Touch ID will use your fingerprint for computer security and can be used in most areas in place of your computer password.
- If you choose to set up Touch ID, you can do so by placing your finger on the power button in the upper right hand corner. It will ask you to do so multiple times – enough times that your fingerprint is properly identified. (Again, this is an optional step and you can skip it – but it is highly recommended.)

- Once the above steps are complete, you will gain access to macOS.
The MacBook Pro 13 (2022) is now available for sale starting at $1,299. If that price is a little too much, you can always check out some quality refurbished options. Those looking for something larger and more powerful might want to check out the MacBook Pro 14 and MacBook Pro 16. You can check out the purchasing options for the MacBook Pro 13, MacBook Pro 14, and MacBook Pro 16 down below.
- The latest MacBook Pro 13-inch featuring Apple's M2 processor.
- The MacBook Pro 14-inch featuring Apple's M1 Pro and M1 Max processor.
- The MacBook Pro 16-inch featuring Apple's M1 Pro processor.
The post How to set up the MacBook Pro 13 (2022) appeared first on XDA.
first How to set up the MacBook Pro 13 (2022) published
via QUANCEA


